Showing posts with label crafts for kids. Show all posts

Wednesday, November 4, 2015

Corn Wreath Thanksgiving Craft

It's that time of year, the weather is starting to chill and I'm once again reminded of why I savor the summer so much. Don't get me wrong, the winter is beautiful and the snow is to melt for...but, I love the sunshine and warm weather so dearly! Although, on the plus side, I've been able to drink some of my favorite pours as the season chill sets in. Coffee with a hint of hazel nut, hot tea...I almost had a hot chocolate tonight. Instead, I opted for a hot orange black tea, slightly sweetened. :)

If you find yourself inside avoiding the winter chills, and your little ones are bored, what could be better than crafting together? This fun and easy "Corn "Wreath" is so fun and would look great on your front door.

CORN WREATH

SUPPLIES
*Scissors
*Paper Plate
*Green Construction Paper
*White Construction Paper
*Yellow Tissue Paper

DIRECTIONS
A. Cut the middle out of your white paper plate. You should have a ring when finished.
B. Cut out the corn cobbs, then the corn husks.
C. Paste the yellow tissue onto the white corn cobbs.
D. Paste the green corn husks on the yellow tissued corn cobbs.
E. Before you add the finished corn to the ring, arrange them to get an idea of where they are going to go.
F. Add plenty of paste to the rim of the white ring.
G. Add the finished corn to the ring quickly, if you need to reposition, the paste will still be wet enough to just remove it from the ring. Don't press the corn down firmly until all of the corn has been placed exactly where you want it.

Hint: I use the middle ring/hole as a guide for placing my corn around the rim evenly.

Send me a photo of your finished craft and I'll add it to this post.

Enjoy!

Saturday, March 30, 2013

Upcycle Craft - Owl Bag


Don't you just love looking at creative crafts that inspire?  It's one of the reasons I love Pinterest so much. It's a great place to get and share great ideas. This upcycle craft was inspired as such and I'm really excited to share it with you!
This Upcycled "Owl Bag" was constructed from a used cereal box upcycled with duct tape. It's a great way to "wrap" a gift for a friend, use to tote Hot Wheels around (as my preschooler does) or set on display with your latest owl loving decor. Whatever you do, you'll have a hoot of a time!

Materials:
  • Used Cereal Box
  • Duct Tape (3 different colors, 1 of them a shimmering color)
  • Wax Paper
  • Sissors
  • Ruler 
  • Owl Print of Choice to Trace
  • Pretty Rhinestones that match/stick or whatever else you'd like to use. ;0)


Step 1: Wrap

Tape the top flaps down to the inside of the cereal box. 


Then wrap the box with duct tape from the top to the bottom. Alternate your 2 different colors. Don't use your shimmering duct tape yet.


When you reach the bottom, and if you have any hang over, cut the sides then press them flat onto the bottom of the box.


Wrap the sides of the box from side, to the bottom, up the other side covering entirely. This will give a finished look on the sides.


Wrap the top of the box with the shimmering color.


Cut corners, fold down.

 
Now that the wrapping is done, it's time to start adding the details.


Step 2: Adding the Top Edging


Step 3: Make Handles
Measure two strips of tape, two different colors with one of them being the shimmering color.  Tape them together (sticky side to sticky side) and twist.


Tape handles to the inside of the box.  Then add a long strip of tape to the inside for an extra layer of support.


Step 4: Make Owl 
Trace an owl of your choosing onto a piece of paper. Place wax paper over the drawing and trace the drawing with a sharpie.


Cover drawing with shimmering duct tape. Do Not press the duct tape down at all. You want the tape to come off easily when you peel it off of the wax paper.


Flip over and cut along lines.


 Peel off wax paper.


 Tape onto the box. Press tape down firmly.


Step 4: Decorate!

I even decided to use the left over shimmering duct tape and wax paper to make some additional stick on decor.


I also added some matching stick on rhinestones.


Have a Great Weekend!
Whoo Whoo!
~OvO~

Monday, March 25, 2013

Upcycle Craft - Reusable Tissue Bag

Today I'll be sharing a green upcycle craft that will help eliminate the use of disposable tissues.  This project is super easy and provides plenty of room to be creative.
I'm working on eliminating the use of disposables in our household.  I've already been successful eliminated  disposable paper towels and napkins by replacing them with cloth towels and napkins. I even have cloth picnic napkins! ;0)  Since my 3 year old's nose is constantly...shall we say, active...I wanted to make an effort to stop buying disposable tissues and replace them with handkerchiefs.  This upcycle craft uses a plastic pinto bean bag I purchased from the grocery store.  This particular bag has a resealable top.
Here it is, enjoy!

Materials
  • 1 used plastic bag with a self sealing top
  • 3 different colors of duct tape
  • matching fabric 3" x 3" square
  • matching thread
  • needle for sewing thread
  • wax paper
  • sissors
  • hot glue gun
Step 1: Take your 3 different colors of duct tape and decorate your plastic bag. I choose to do strips because it was fast and easy.  


Step 2: Cut a 3" x 3" square out of matching fabric...larger or smaller depending on the size of plastic bag you're using.


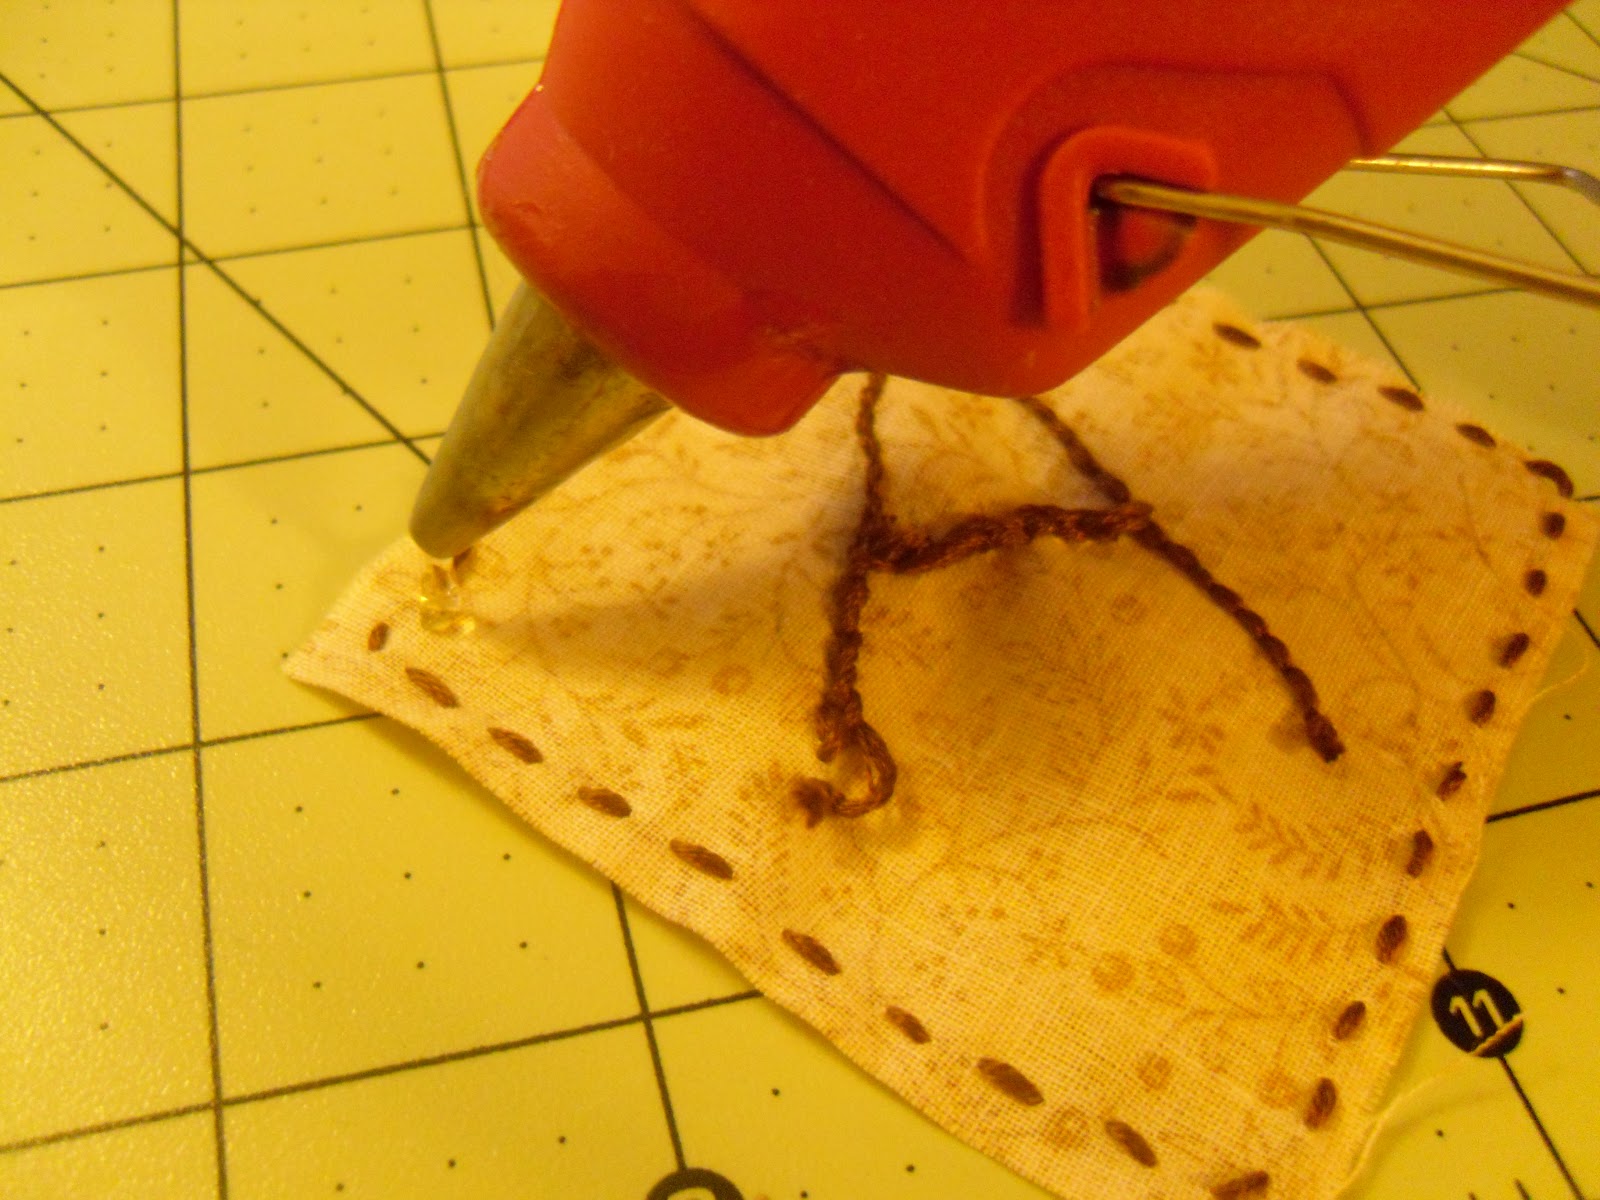
Step 3: Find some matching thread and stitch the edges. Then using a pencil on the back of the square, draw the letter you'd like to stitch then stitch it.


Step 4: Glue the square onto your decorated tissue bag.


Step 5: Add a handkerchief.


Now this craft is ready for the next nasal emergency!  I actually used my reusable tissue bag the other day and was so excited about not using disposable tissues.  I was even more excited about not having to worry about putting a dirty handkerchief in my purse...the "moisture" leaking onto other things in my purse. Plus, the fabric is 100% cotton, soft on the nose and comes in many other colors/designs.
Happy Nose Wiping the Green Way!
Whoo Whoo!
~OvO~